


-
Chopping
-
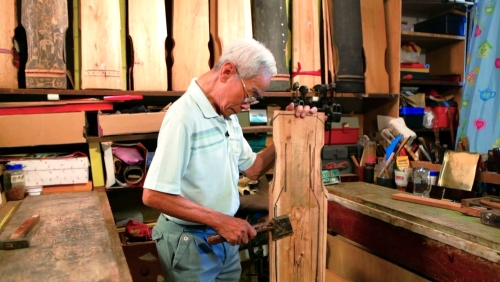
Step 2: Chopping
Qins come in a myriad of styles. In the second step of the qin making process, the design of the qin is drawn onto the wood. The process usually begins with a proposed scheme of measurements for each part, from which paper patterns are drawn. These patterns are next copied onto the wood. To condition and scoop the top and bottom boards into a qin body, the maker must first saw out the qin shape. An axe is next used to chop out the basic shape of the qin, followed by the long plane, which is used to trim and condition the qin top. Using the curve measure as a guide for precision, used for detailed shaping. The qin bottom must be straight along the middle axis. A small curve should be trimmed across the sides.
-
Step 2: Chopping
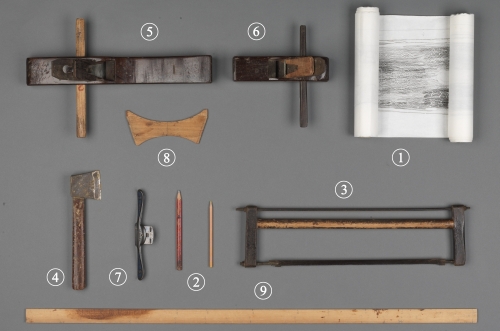
Tools
- Paper pattern – drawn to the same scale as the qin, to be copied onto the wood
- Pencils – for outlining the qin shape on the top board and bottom board according to the patterns
- Hand saw – for sawing out the top board and bottom board as required by the qin style
- Axe – for chopping out the basic shape and curve of the qin top
- Long plane – for smoothing out the qin top and bottom. The longer the plane is, the flatter and smoother the wood.
- Short plane – for refining the qin top and bottom
- Spokeshave – for creating a rounded edge, e.g. refining the qin forehead
- Curve measure – the standard of the curvature of the qin top
- Long ruler – the standard of the straightness of the qin top
-
Step 2: Chopping
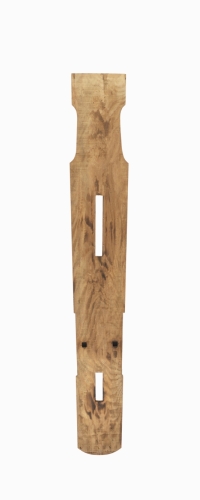
Conditioned top board (left) and bottom board (right)
Maker: Choi Chang-sau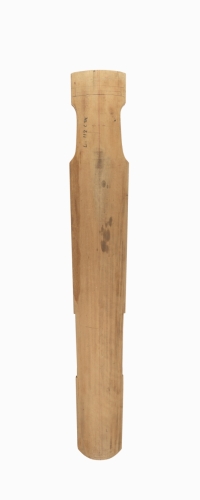
-